Sapta Rachel’s Best Tomato Sauce

Tomatoes, Wine and Art from Barcelona

This recipe comes from my daughter’s Israeli Italian grandmother on her birth-father’s side. Try saying that three times fast! Rachel is an amazing cook and this very simple recipe is truly hers. I learned it from my daughter who brought it home with her after spending a few weeks in Israel with her Sapta.

  1. 3–20 fresh tomatoes (any variety)
  2. 1–8 onions chopped finely (crying time)
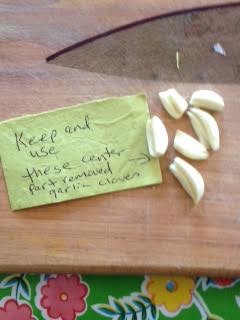
  3. 2 cloves of garlic per large tomato (always prepare the garlic with the centers removed). You can chop it fine or press it once you’ve removed the centers.
  4. olive oil (a healthy amount, at least ¼ cup or more)
  5. salt and pepper
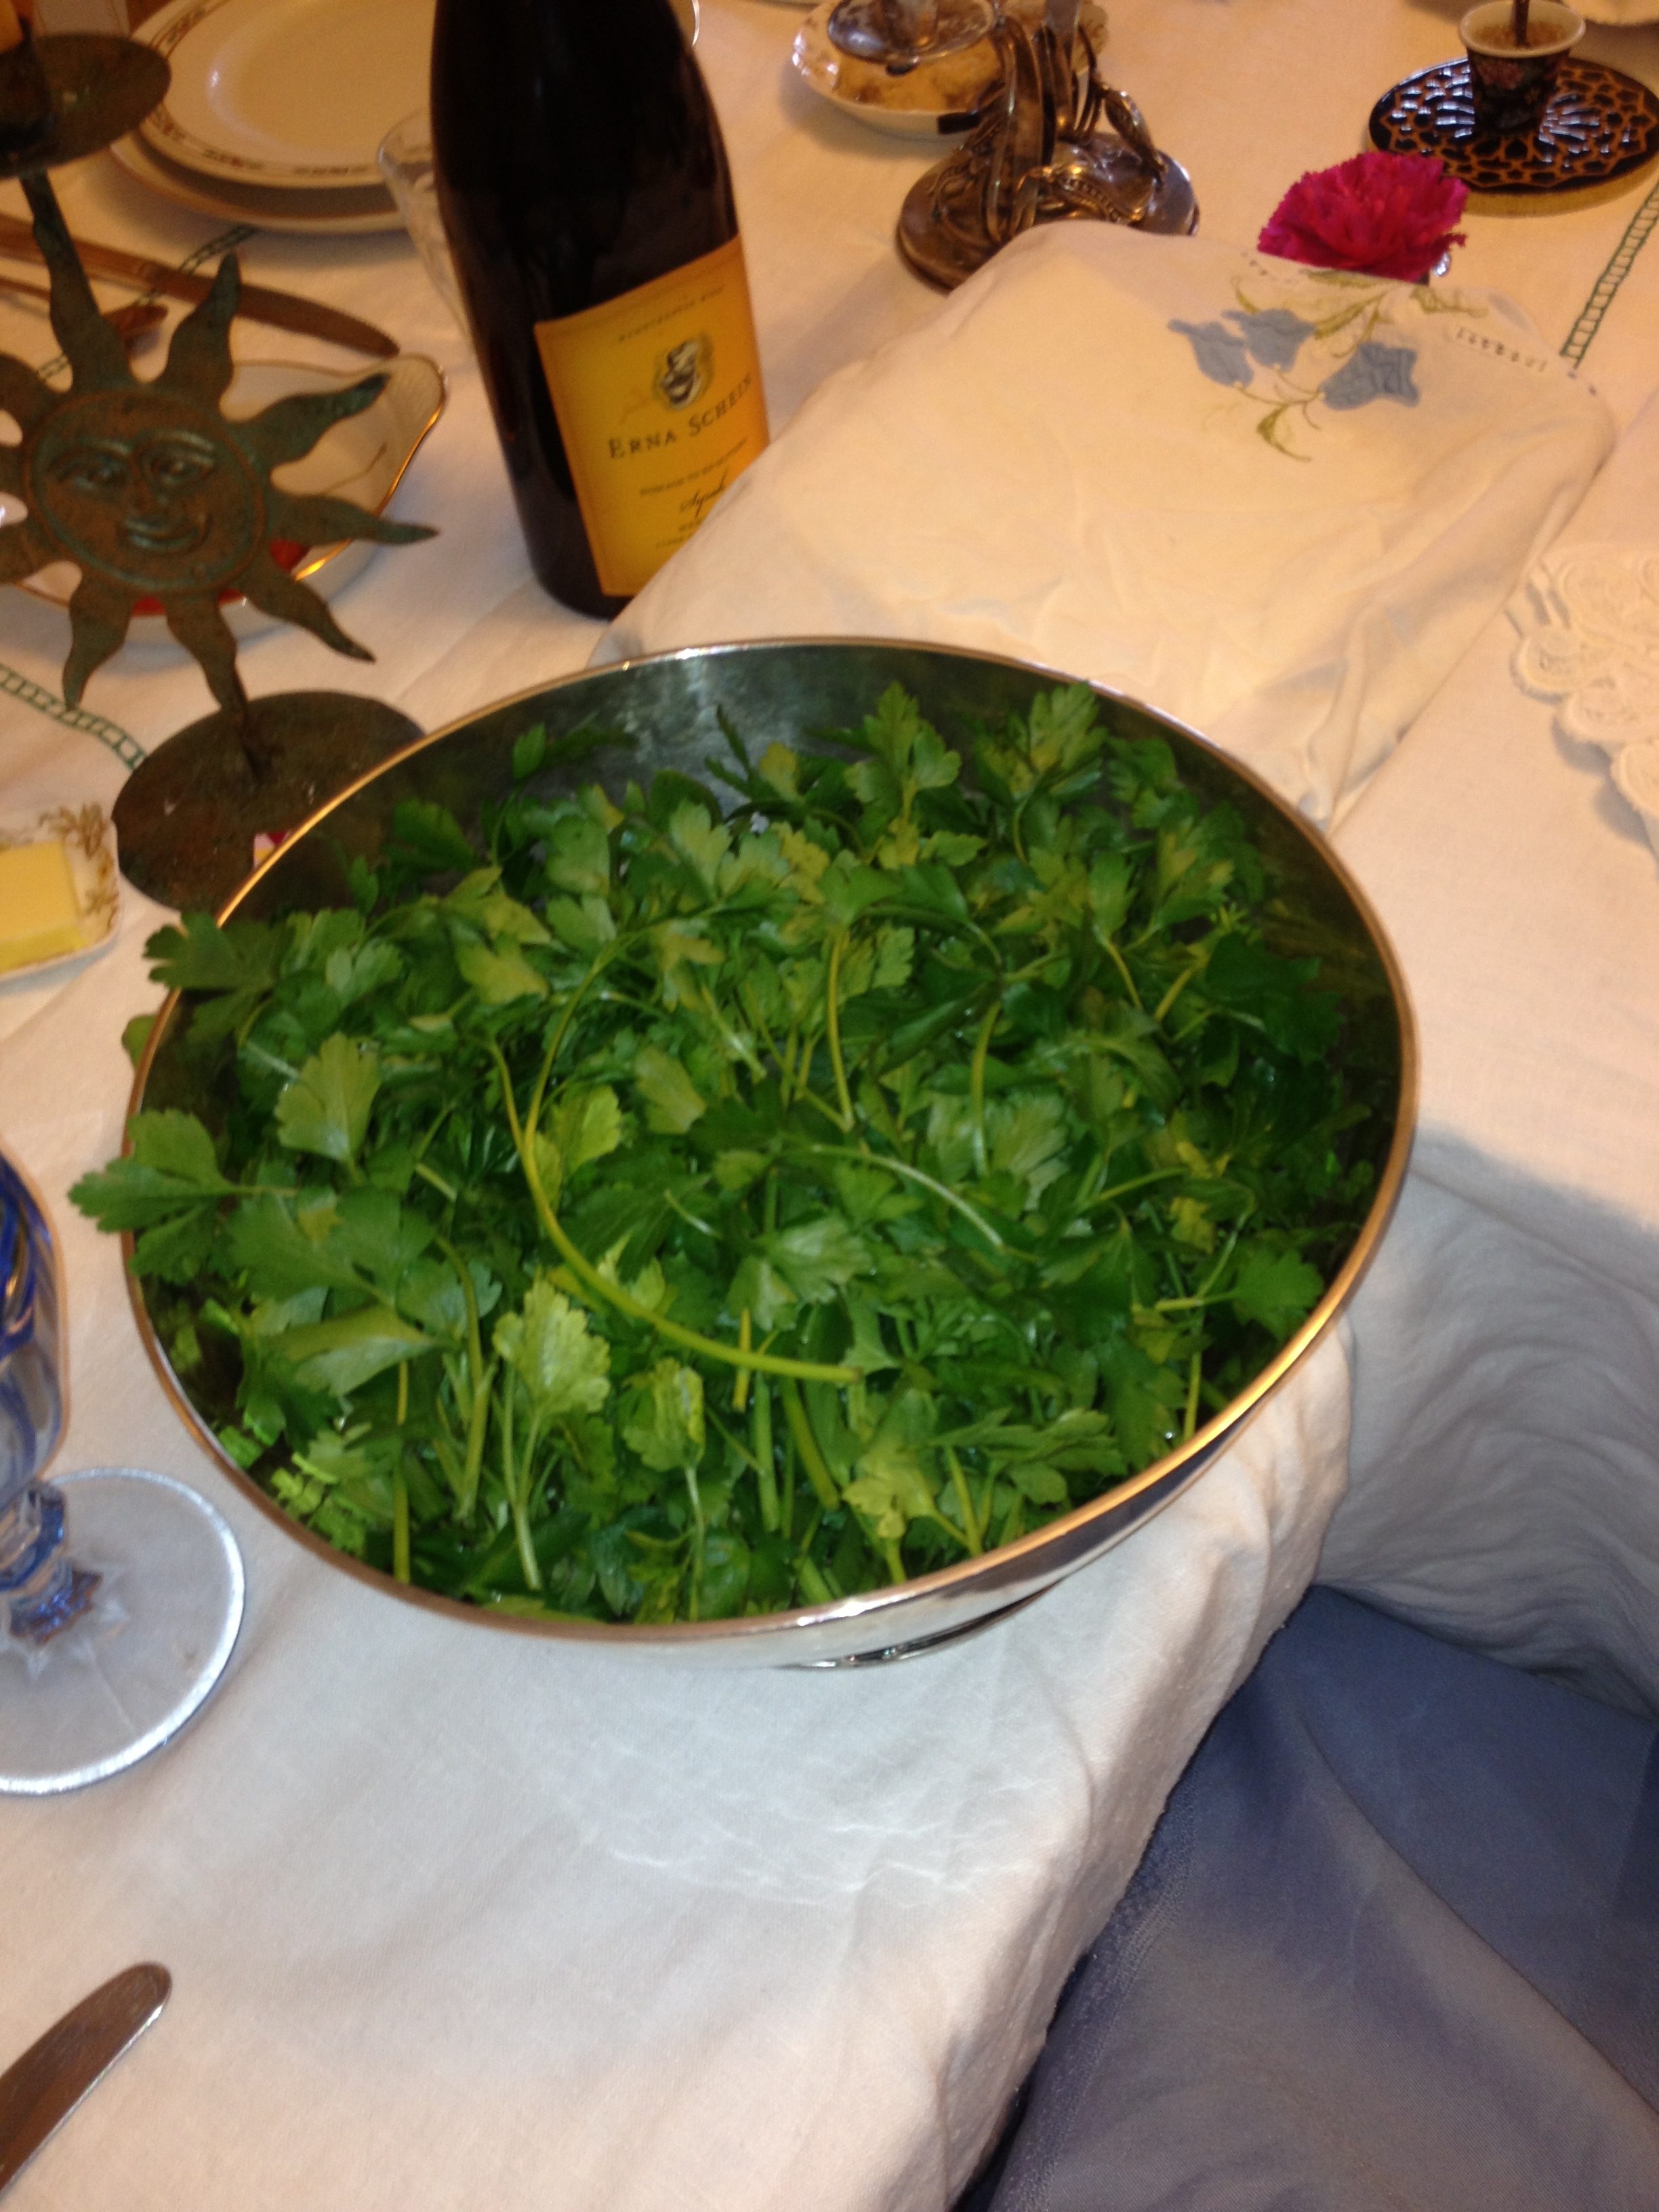
  6. fresh basil (chopped finely)

Cover the bottom of your saucepan with a thinnish layer of olive oil. Don’t ever be afraid to use more than a few tablespoons of olive oil! Heat the olive oil and fry the onions up until they are soft, stirring frequently, don’t burn them (at least 10 minutes). Add the garlic into the pan with the onions and cook for several more minutes. Grate the tomatoes over the pan, if you are just using a smaller amount of tomatoes.

Otherwise grate all those tomatoes in a bowl separately and then put them in with the onions. Grating the tomatoes, with a cheese grater over the pan or bowl, is the quick way to peel tomatoes, because the skin stays in your hand and the pulp goes in the pan/bowl. If you hate using a cheese grater, and some folks do, you can also steam the tomatoes, let them cool and then peel them and just chop or mush them up with your hands into the pan instead. This takes more time and more dishes, so I prefer the cheese grater method.

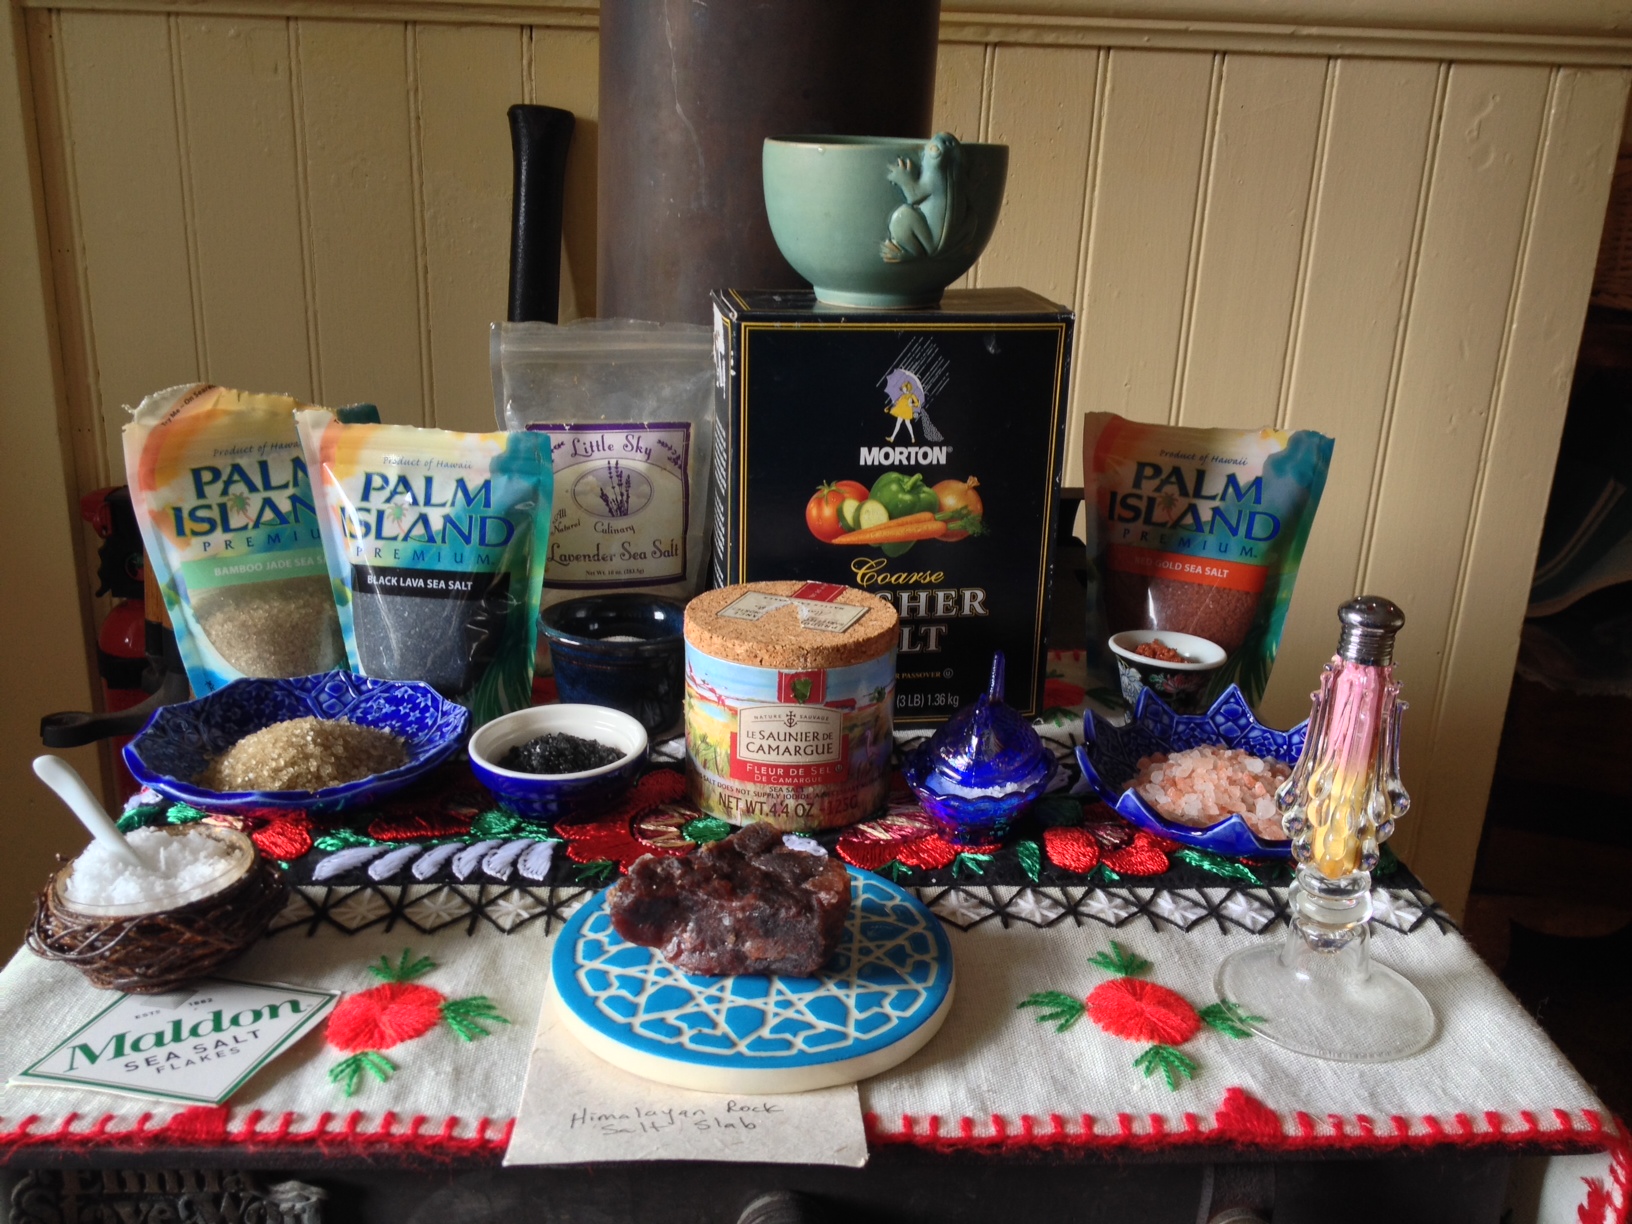
Add a lot of fresh ground pepper and a fair amount of salt, more than a dash (see the Let’s Talk Salt post). Cook this down on medium to high heat, then simmer, stirring frequently, until it is pulpy and thick, not watery. This can take anywhere from fifteen minutes to several hours depending on the water content, heat of your burner, and amount of tomatoes. I generally like to cook mine for a few hours, the flavors just get better. Do not cover the pan, let this aroma waft through your home and inspire and titillate all who venture into your space. Add the chopped basil at the last-minute before serving. Use this sauce over pasta, in any eggplant dish or in any other recipe that calls for tomato sauce. It will keep for a week or more in the fridge. You can freeze it or can it also. Enjoy!

© Nicole Barchilon Frank

Perla’s & Poussy’s Peppers

Perla's Peppers
Perla’s Peppers

I just finished making up a batch of these to bring to my friend’s home for Shabbat. It was her request. This recipe comes from my Moroccan Grandmother, Perla Barchilon, I re-learned how to make it in Israel with my cousin Poussy (this is her nick-name) her name is also Perla. I will put up pictures of my Grandmother Perla and her amazing artwork in the near future. I want to get this last post out before I light candles for Shabbat.

  1. bell peppers (an assortment) I recommend at least 5 or 6 peppers
  2. pressed garlic 1:1 ratio. The ratio to garlic and peppers should be 1:1. One pepper equals one clove of garlic
  3. juice of ½ lemon
  4. ¼–½ cup of olive oil
  5. Chopped fresh parsley
  6. salt and pepper to taste

Use 2 of each kind of bell pepper. You can use green, red, yellow or orange peppers for this. I like to combine a few of each. This dish can be saved and actually gets consumed fairly quickly so it is worth making more than you might eat by yourself. Wash peppers and place in the broiler and forget about them for awhile. When you think of it, open up the broiler and turn them over, until you’ve gotten them blackened on all sides. Some peppers have 3 sides, some have 7, and every pepper is different. This step usually takes about ½ hour or so, sometimes longer. The point is to sear/burn the outside skins, which also cooks the peppers. You can have them pretty close to the open flame. If you don’t have a broiler, you can do this on the stove-top over a gas flame, but it makes a mess of your burner. After the pepper or peppers are blackened, place them in a paper bag or a glass container with a lid and close it up and let it sit on your counter. If you are using the bag, it will leak so don’t put it near something you don’t want to get wet. You can place the bag on a dish if you wish.

After the peppers have cooled a little, you can prepare the dish. Fill a bowl with cold water and have it handy nearby. Place another empty bowl near your cutting area. Take one of the peppers from the bag and start peeling it. Use the cold water bowl to keep your fingers from burning and to wash off the seeds and insides of the peppers. Don’t put the whole pepper in the cold water. The juices from the pepper need to be preserved as much as possible. Once you’ve peeled the pepper (it will usually start to dissolve into sections while you are doing this) make sure you remove the top/stem part. Then slice into very thin strips and place in the clean, empty bowl. Repeat this process with all the peppers. When you’ve got a bowl of slimy, thin strips, drizzle olive oil over them, add the lemon and press the garlic over it all. Add salt and pepper and the parsley to taste and mix it all up. You can serve it warm right away or let it sit for a few hours, but not in the fridge. If you are making it for a different day, take the peppers out of the fridge an hour before serving so they are at room temperature. These peppers will keep for a fairly long time.

Here’s a little Shabbat Flower Sweetness for you. May you have a delicious Sabbath or Weekend or Restful Moment!

Nicole

Paul Barchilon's Ceramic Plate with flowers from Nicole's Garden
Paul Barchilon’s Ceramic Plate with flowers from Nicole’s Garden

©Nicole Barchilon Frank, granddaughter of Perla and Isabelle

Chanson de la Vinaigrette

Mon Père Jacques
Mon Père Jacques

A vinaigrette, made properly, is spicy and stings the tongue just a bit.
It enhances the flavor of anything it touches,
bringing out the best elements.
A true vinaigrette also cooks whatever it touches
and if left unattended, on a salad too long,
leaves you with a wet, warm mess.
And it becomes bitter if neglected
Such was the life of my father,
both as he lived it
and as it affected those around him,
spicy, intriguing, flavorful
—not so good when neglected.

The truest recipe for his vinaigrette will keep in mind its origins and its tender and true qualities. This ode to my Papa was written several years before he reconnected with Judy. Now, at the age of 90, my papa has been happily married to Judy, for over fifteen years and his life is too sweet to really reflect the earlier taste of tang a true vinaigrette requires. Just because his life has gotten sweeter doesn’t mean you can substitute some fancy raspberry or strawberry vinegar. This vinaigrette needs the bitter, sour, strong tastes that are included here.

The Original Papa Vinaigrette
1–2 teaspoons or tablespoons of Grey Poupon Dijon mustard. No stone ground substitutions will do. You may be able to find a different fine French Dijon mustard and use it. I have not yet discovered an organic variety that works. It must be finely ground, have a little bite and no sweetness. If you use a lesser mustard, this dressing just won’t ever taste the way mine does.

1/4 cup red wine vinegar (NOT BALSAMIC)
1/4–1/2 cup olive oil
salt
pepper
garlic granules
fresh thyme or some fresh dried thyme
a dash of nutmeg
mix everything together in a jar with a tight lid and shake vigorously.

 The New Nicole Version (I think this one is better, but I’m biased)

Combine in a small bowl or in a jar with a lid

Dijon like above (don’t be afraid to use a really healthy amount of Dijon)
juice of 1–2 lemons (fresh only, don’t ever use anything else!)
a dash of white wine vinegar
salt, a good amount.

It is important to do these steps in order, the vinegar, lemon, mustard and salt need to all be very well mixed before you add the olive oil. Add the olive oil about a 1/2 cup olive oil either in a slow drizzle while stirring with a spoon if you are using the bowl method or in the jar with a lid, “shake, shake, shake that booty/dressing.” Then you can add some freshly ground pepper.

Optional additions
1–2 tablespoons very finely cut fresh shallots
a bunch of fresh tarragon leaves, whole but removed from the stem, chopped small or left in large sections.

You can also add any fresh herbs from your garden to this except rosemary, I don’t believe this dressing would work with rosemary. I’ve never tried it. I have a sense about these things.

A perfect salad for your vinaigrette

©Nicole Barchilon Frank

Let’s talk Salt

Some Salts Sweetly Sitting Strongly Sending Savory Suggestions

Most folks are clueless about salt. I mean this with no disrespect, but I have found it to be true. Salt is not your enemy, nor is it bad for you. It is only a problem when you are eating too much processed foods or if you have a specific medical condition. Even then, talk to your doctors, but I bet if you eliminated processed foods you could actually salt your food with real salt.

“Salt was to the ancient Hebrews, and still is to modern Jews, the symbol of the eternal nature of God’s covenant with Israel. In the Torah, the Book of Numbers, is written, “It is a covenant of salt forever, before the Lord…” On Friday nights Jews dip the Sabbath bread in salt. In Judaism, bread is a symbol of food, which is a gift from God, and dipping the bread in salt preserves it—keeps the agreement between God and his people. Loyalty and friendship are sealed with salt because its essence does not change. Even dissolved into liquid salt can be evaporated back into square crystals. In both Islam and Judaism, salt seals a bargain because it is immutable.”
~©Mark Kurlansky, Salt: A World History

If you really want to know more about Salt, beyond what I am sharing here, please read Mark Kurlansky’s book Salt: A World History. If you can, please order directly from his website or your local bookstore.

I no longer use soy sauces of any kind, even gluten-free tamari has left my cooking. I tried the coconut aminos, and occasionally when I am doing something with a particularly Japanese, Korean, or Chinese kind of flavor and I feel it absolutely needs that kind of taste I will use those instead. Some folks really hate all the soy alternatives and need that flavor. If you are mostly cooking from that part of the world, you may need to use soy based products, but I prefer not to at this point.

Just say YES to SALT

So, let’s talk salt. I usually have on hand at least five or six different salts, as you can see from this picture above. I am always on the lookout for different salts and will tell friends when traveling, “if you want to bring me something back, I am always in the mood for salt.” One friend while traveling in the Himalayas returned with a purple rock and reverentially handed it to me. “I said what is it?” He said take a lick, and I did and sure enough it was a sulphur flavored salt slab. This is the purple salt in the picture sitting on one of my brother Paul Barchilon’s coasters.  The green and large pink rock salts are also on dishes of his.

Sometimes, when I want to engage folks with their taste buds and they are up for it, I give them the Himalayan purple slab and tell them to take a taste. Most folks are not happy with this particular salt’s flavor, but I love the intense mineral taste that brings me to the stark and high-peaked mountains. One lick and I am standing above it all, yet grounded right here in my body.

Nicole’s Salt Rules:
(Salt does RULE!)

  1. You don’t need a lot of salt to make things taste good.
  2. Experiment with different salts and combining or pairing them with what you are cooking.
  3. If you cannot afford a wide array of fancy expensive salts, and most folks cannot or wouldn’t dream of spending a lot of money on salt, you can get away with just having kosher salt flakes. Kosher Salt flakes are cheaper than any other salts and stand far above almost any other salts that the average person buys. Rock Salt can be found cheaply now as well. Also Real Salt, from Utah, if you are in the U.S.A. or bulk pink Himalayan Salts are not that expensive.
  4. Salt your food at the very end, not while you are cooking. This is almost always the case, but sometimes I salt mushrooms or soups close to the end of what I am doing. I also salt meat, chicken or fish before cooking them or have the salt in the marinade, but not during.
  5. Salt changes things, it is a chemical, it is powerful, it shifts the flavors, either enhancing them or transforming them. A little can go a long way, if you do it right.
  6. If you are cooking fish it is a good idea to soak it for at least 1/2 hour in a large stainless steel or glass bowl (NEVER PLASTIC) with about 1/2 cup or so of kosher salt flakes. When you do this, you will see a scummy layer of stuff that is in the water. Salt purifies and removes toxins. It is not a guarantee that you are getting all the nasty chemicals in our oceans and rivers out of your fish, but it helps. Rinse the fish off and then marinate or cook. You do not need to salt your fish too much.
  7. Brine, Brine, Brine your poultry. If you cook chicken or turkey and you don’t brine it, you are missing out. There is a world of difference. There are many different brining recipes, but I stay pretty simple with mine. I use about a cup of kosher salt, a half-cup of brown sugar, lots of fresh ground black pepper, some red pepper too and whatever herbs I’m in the mood for, tarragon, oregano etc… I combine the salt, sugar and herbs in a large one quart glass mason jar and pour boiling water over it and let it sit and shake it up so it all combines nicely. I then pour this into a large brining tub/bucket that I use only for this purpose. This bucket is filled 2/3 way up with cold water and the brine. I then put in a whole chicken or two and stick it in my fridge. It does take up space. You can also do this in a cooler with ice if you don’t have room in your fridge. You can use a stainless steel large soup pot as well. Please always clean all your surfaces when handling raw chicken. I always do this in a clean kitchen and use a natural cleanser on every surface the chicken touched or I touched, including faucets, sink and counters. I recommend leaving the chicken in the brine for at least 24 hours, but I’ve gone 48. When you remove the chicken to cook it, repeat the cleaning steps. You’ll have to go to one of my chicken recipes to get suggestions on cooking. But you can just remove the chicken from the brine, and pat it dry or let it air dry in the baking dish you will be cooking it in. Contact me if you have questions about this and I will clarify.
  8. Some folks say that if you use metal and salt together you eliminate the benefit of using a better quality salt. This is complicated and I am not going to address it in full here. I do tend to salt my food in the dish I am serving it in and have taken to stirring or tossing the food when I can with a wooden serving utensil. I always use my fingers to distribute salt, since they are better indicators of how much I want than any spoon or measuring device. I keep salt shakers on my table for those who don’t want to do that, but I also always have several small bowls with different salts on the table, for those like me, who prefer their fingers. Remember commandment # 6 from The Ten Commandments of Nicole’s Kitchen.

©Nicole Barchilon Frank

Esti’s Parsley, Garlic, Lemon, Jalapeno Supremely Special Sauce

Parsley ready for Esti's sauce, washed and dry
Parsley ready for Esti’s sauce, washed and dry

This recipe was given to me by an elderly Israeli woman who I used to visit and help. She was an amazing woman and this sauce, while slightly adapted from her original (I like mine spicier) is in memory of her. I should also warn you, this stuff is addictive and some of my friends just eat it by the spoonful.

The tops only of 1–3 bunches fresh parley, Italian flat preferred, washed very thoroughly, the bucket method (putting all the parsley in a large bowl or bucket of water, soaking it, then draining and doing this two more times over ½ hour to an hour). Then dry or drain so the parsley is not too wet. You can do this the day before and keep the parsley that has been washed in a cloth bag or dish towel in your fridge.

One whole bulb of peeled cloves of garlic per 2 bunches of parsley (2:1 ratio, 2 bunches of parsley to 1 whole bulb of garlic). The garlic must have the centers removed from each clove, this takes about 20 minutes to a ½ hour depending on your technique. Do not make this recipe or any recipe using raw garlic without removing the darker colored centers of each clove of garlic. The only exception to this rule is if you are using very fresh garlic that is young, it won’t have had time to spoil in the center. Also, if you are baking garlic you can avoid this step, but for any raw garlic dish, not doing this will make your recipe harsh, and bitter and will upset stomachs as well.

Better Garlic

One to two whole bulbs of garlic, not cloves, but bulbs, the whole bulb times two. This garlic MUST be prepared as described and shown or else the sauce will not be good. See the Ten Commandments of Nicole’s Kitchen (in reference to following my directions, refer to commandment #1).

Juice of 1– 2 lemons per bunch of parsley

1–5 fresh green whole jalapeños or serranos (just cut off the very tops)

1/4 cup -1/2 cup or more of virgin olive oil

Salt to taste (at least 1/2 tsp or more of good salt, please see upcoming posting “Let’s talk Salt”

Combine all of these ingredients in the blender and blend away. This sauce is to die for. Put it on everything and anything, bread, fish, meat, tofu, veggies. Don’t cook this sauce though or use it as a marinade. It is best cold and will keep for about 5 days in the fridge. You can use fewer peppers if you want less spice, or more if that’s your desire.

from Divine Delights, Persian, French & Sephardic Savors from the Kitchen of
© Nicole Barchilon Frank